Showing posts with label sewing. Show all posts

Tuesday, August 16, 2022

a new bag

 Hi friends.

I wanted to make a bag that was smaller than my purse, but that I could fit my phone in and maybe some cash and ID.  So I looked for some ideas and found a cute bag made from old jeans pockets.  I dug through my stash and found an old pair of jeans that had pockets I thought would work.  I cut the back pockets off along with the fabric behind them, which I trimmed close to the pockets except for the top edge, which I needed to attach closure flaps.  

I made flaps from some fabric I like.  Also, I made a long adjustable strap, so the bag could be a crossover.  I used some hardware from my stash as well.  The flaps close with velcro.  I sewed the two pockets together back to back, but I need to do a little hand stitching in a place that would not go through my machine.  

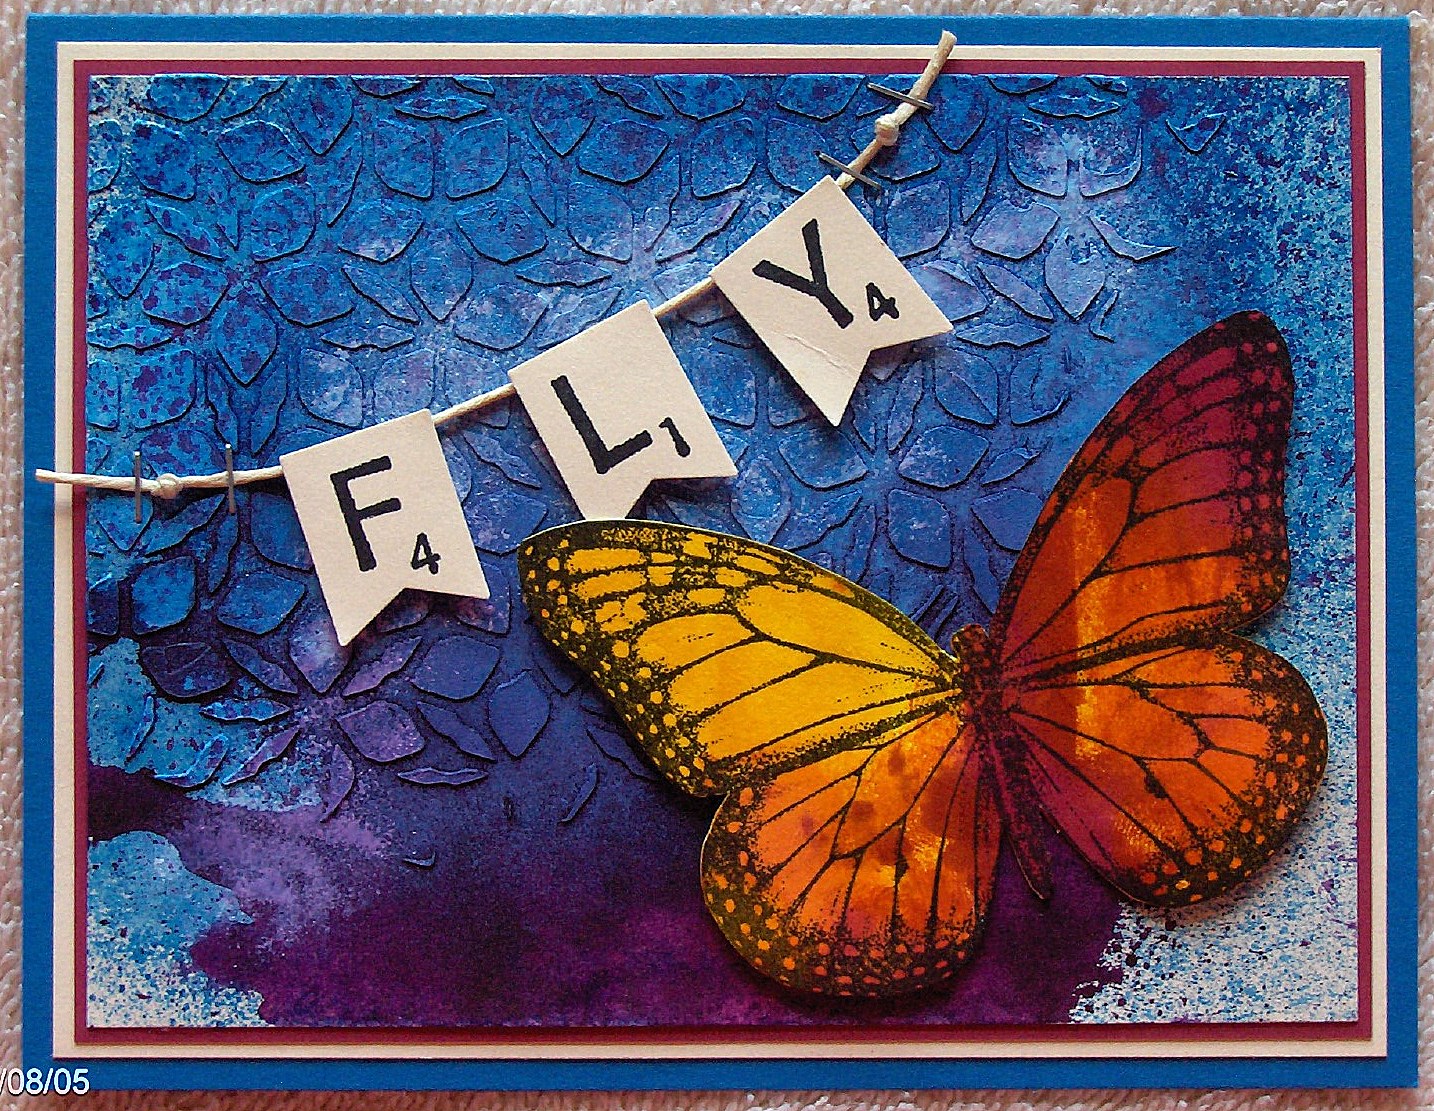
I decided that the bag needed a little bit of decoration, so  near the bottom edge (on both sides), I stamped a butterfly with archival ink.  Because I was stamping on fabric, some of the ink soaked into the fabric, and wasn't very dark.  

I used a tiny brush to paint the butterfly with acrylic paints, working in stages for the different colors and for both sides of the bag.  I used a stylus to put white dots on the wings.  When all the paint was dry, I went over the black outlines with a sharpie marker to darken them.  Then I gave the butterflies a coat of matte gel medium.  

I really love how the butterflies turned out.  And I'm happy with the bag. 


Thanks so much for taking time to visit today.  Have a wonderful day.  


Monday, March 8, 2021

rag quilt

 And just like that, it's March already.  About 2 weeks ago, I was talking to my son and he wanted to know what we were going to give his sister for her birthday.  I told him I was planning on making her a flannel rag quilt.  His response was, "in two weeks?"  Well, that kind of threw me.  I thought I had more time.  So I had to get going on it.  I went down to my fabric stash and pulled out two bins of flannel fabric.  I decided to make the blocks 6" finished, so I needed to cut them 7".  I wanted to make the quilt 12 blocks wide and 12 blocks high, and because it's a rag quilt, I needed double the number of squares, so a total of 288.  I was putting batting in, so that meant 144 6" squares of batting.  I can cut pretty fast with my rotary cutter, so away I went.  I think I had all the block cut by the end of the day.  


The next step is making little sandwiches of fabric and batting.  You put the fabric wrong sides together with the batting in the middle.  I pinned once along each edge, so I could sew from corner to corner.  


I used almost all solids, except for one print, and made each sandwich the same on each side, so when I put the blocks together, I didn't have to be concerned about the back side layout.  I counted how many I had of each color and punched 1" squares of colored paper and lay them out on a 12" grid.  Once I was satisfied, I stuck them down with a temporary adhesive, so I had something to follow.  


That made it easy to put all the blocks in rows and start sewing.  I tend to sew in couples or groups, so I took one row, sewed pairs of two squares together all across.  Then I sewed those groups together, until I had the row completed.  I continued in that manner until I had 12 rows.  Then I did the same thing with sewing the rows together -- two at a time, then grouping.  The seam allowance is 1/2", because those get clipped and frayed. 

You can see how it looks as I started to clip the seam allowances.  You just have to be careful that you don't cut into the stitching.  I used my applique scissors, because they are razor sharp, and you are clipping through four layers of fabric.  Your fingers and hands get pretty tired and stressed.  I had to take a lot of breaks. 

Once all the seams are clipped, then you wash and tumble dry the quilt.  That cause the clipped seams to fray and get a nice fuzzy look.  


Here's the finished quilt.  It took me six days from start to finish.  I broke one needle on my sewing machine and donated blood about five times, because I had some aggressive pins.  But I got it done in time for her birthday.  


I'm setting this post on a delayed publish, because I don't want her to see it, just in case she checks my blog. 

Saturday, November 17, 2018

butterflies continued...

Well, hello!  I can't believe I haven't posted in almost a whole year - since January.  Shame on me!

If you remember, back in 2016, I wrote a post about a butterfly quilt that I was making using hand applique.

Well, a few months ago, I finally had all the blocks finished and ready to put together.  Once a month I get together with some other ladies at a bobbin lace guild meeting in Fort Atkinson.  We meet in a good sized room at the local library, so I knew I'd have some floor space.  I took all my butterfly blocks and laid them out on the floor in rows.  Then I played with the positioning of the blocks, trying to separate like colors, so that I didn't have a glob of one color.  Of course, it helped to have input from the other lace members as well.  There really isn't a "perfect" layout, because it's a scrap quilt, so at some point, I just had to say "done" and go with it. 

As you can see, I must have been having so much fun making the blocks, that I have four extra.  Or when I was counting, the fabric stuck together, and I counted wrong.  Hmmm... the beginning of new project?

Once I was satisfied with the layout, I took a few pictures on my phone, and then pinned a block number on each block (A1, A2, etc.), so I would know what order to put them together (just in case they got dumped - gasp! and all out of order).  I removed all the pins after the blocks were sewn together. 

Here's a couple of pictures of it on a bed. 

The blocks are sewn together, but I haven't decided what to do for the antennae.  I may just do those as part of the quilting.  I may or may not add a narrow border around the outside.  And I have yet to choose some backing material and put the layers together. 

And here's a close up of a small portion. 

I want to hand quilt this, so I'm sure it will be years before it's finished.

The extra blocks may end up like these pillows.  The pillow casing overlaps in the back so the pillow can be slipped in.  The band just slips over the pillow.  You can change the bands for seasonal decorating, and it makes for easy laundering.

Thanks so much for stopping by.  

Tuesday, August 23, 2016

another mug rug

Hi friends.  I apologize that this blog has been so neglected.  It's not that I haven't been creating, because I have. 

The last weekend of July and the first week of August was the Dare to Get Dirty Challenge scramble (haha, for want of a better description) on SCS.  The challenges are for SCS fan club members only as a special thank you for supporting the site.  This is an annual event, and this year there were a total of 42 challenges during that week.  There are random prizes drawn for participants, and some special prizes for those who create a separate card for each challenge, also called the challenge queens.  I qualified as a queen this year, so by the time the week was over, I was pretty exhausted.  I happened to win one of the prizes this year, which I think is pretty cool. It's a $25 gift certificate for Serendipity Stamps.  I'm going to have a hard time choosing. 

Here are a few of the cards I made that week.  For Dina's challenge:

For Alba's challenge: 

For Angie's challenge: 

For Sabrina's challenge - the flowers on this one were colored with milk & heated - a rather fun technique: 

For Robin's challenge: 

For Bev's challenge: 

For Nancy's challenge: 

I could add more, but maybe in another post. 

I also wanted to show you the special mug rug I made for Lydia's birthday, which is Wednesday.  She has a couple of rescue cats, and designed a cat image for some merchandise.  I wanted her mug rug to be meaningful to her, so I used her cat image as a starting point.  The cat is hand appliqued and the features are machine appliqued.  I did a lot of funky hand quilting in the background. 

I hope she loves it.   She should have received it, so I feel free to post this. 

Thank you so much for stopping by today. 


Monday, July 11, 2016

don't hide the elephant

Hi friends.  Yikes!  I can't believe how long it's been since I posted! 

I've been steadily working on the butterfly quilt blocks.  I have a lot of them appliqued (haven't been counting), but still need to add the antennae.  I think I'll embroider those on with black embroidery floss.  I still need to pick out a few more fabrics for the backgrounds.  I'm planning a total of 90 blocks, so it is a big project.  I watch basically no TV, except for the Brewers baseball games.  This is time that I can do handwork -- thus a quilt such as this. 

Something else I've been working on is some mug rugs. 

In May, Mark & I, and some friends since back in his GE days went up to Westby, Wisconsin for a weekend.  Westby is a little town not too far from La Crosse.  It is also the home of Branches Winery, owned and operated by another former GE friend, Gene Burgholz & his wife, Therese.  The winery has only been in operation 3 years, but we were quite impressed.  And there wasn't a single wine that we didn't like.  If you get the opportunity to visit, I would definitely recommend doing so. 

Besides the winery, Gene took us out to his house to see his 'collection'.  Apparently over the years, he has gone hunting in Africa a number of times.  He has a large room filled with his prizes from the hunt.  And center stage is the head of an elephant!  He explained to us the process of mounting it -- quite an undertaking.  I wish I had thought to take some photos. 

So, back to the mug rugs.  I wanted to send a thank you gift to Gene & Therese, so I made them each a mug rug.  I thought an elephant would be perfect for Gene, so I searched for a silhouette online, and then adapted & simplified it to work for an applique.  This one is machine appliqued and hand quilted.  (Don't look too closely at my quilting stitches.)  Here is the elephant (front and back). 

Since Therese is a quilter, I used a quilt block on hers.  The hexagon flower was an extra from the quilt top that I finished last year (that still needs to be quilted). This one is hand appliqued and hand quilted. 

  Thanks so much for stopping by for a visit today.  Have a wonderful day. 

Saturday, January 30, 2016

purple maple

Hi friends.  I needed a gift for my niece's wedding on January 30th, so I decided to make a quilted table runner.  One of my favorite quilt patterns is the maple leaf, so I knew that would be an easy one to use. 

I dug into my fabric stash and chose some purple and turquoise fabrics. 

Then I went hunting for my Easy Angle tool for ease in cutting the triangles.  Nowhere to be found.  I actually have two of them - the original one that is about 4" long and a second one that is about 6" long.  But I couldn't find either one.  So I made a quick trip to the closest JoAnn's to buy another, and used a 50% off coupon, so I didn't feel too guilty.  Unless I'm making an appliqued quilt, I use a rotary cutter to do all my cutting, so it was absolutely necessary to have the triangle ruler.  I need to figure out a better storage system, so this doesn't happen again.  I still don't know where they are hiding, but I'm sure they'll turn up eventually. 

I cut, pressed, and sewed, and before long I had three blocks made, each using different fabrics.  I put them all together with borders.  Then I layered backing fabric, batting, and the top together with pins, and then hand basted it.  I sewed the binding on the front and trimmed off the excess batting and backing.  Then I quilted.  I just quilted it in my lap without a hoop, since it was small enough to handle that way.  When I was finished quilting, I blind stitched the binding to the back. 


Then the only thing left to do was make a label.  My usual method of making a label is to print the label on paper and then tape it to my light table with fabric taped over the paper and trace it.  I actually made one that way. 

But I'd been reading about printing on fabric using an inkjet printer.  I really wanted to try that, so I printed a test label on paper to make sure I liked the size.  Then I ironed my fabric to the shiny side of freezer paper, cut it to 8-1/2"x11" and put in the printer and sent the page to the printer, nervously hoping I wasn't messing up the printer.  It printed!  Perfect!  I peeled the fabric off the freezer paper, and pressed it to heat set the ink.  Then I let it set in some vinegar for awhile, rinsed it well, and pressed it again to remove all the wrinkles.  Then I stitched it to the back of the table runner.  I'm really pleased that it worked so well.  The print is so much cleaner and neat.  That was sure a much easier method of making a label. 


And the quilt was finished  It only took about a week to complete.  I have no idea if my niece reads my blog, so I'm scheduling this post for after the wedding, just in case. 

Thanks so much for taking time to visit today. 

Saturday, December 20, 2014

in my happy place

Hi friends.  I'm working on Christmas presents.  I just have a few to finish.  Right now I'm making a few mug rugs -- basically -- mini quilts. 

I dug into my stash and found a box filled with squares sewn from triangles.  I had to press the seams, and then I picked out a bunch that matched and arranged them into blocks. 

I have these sewn, with the binding attached, but I still need to stitch (by hand) the binding down to the back, and then I will hand quilt them.  I don't think that will take very long.  I use the clips to hold the binding in place as I stitch. 

Here they are a bit closer, so you can see some of the detail better.


Thank you so much for stopping by.

Friday, July 18, 2014

technique class cards

Hi friends.  As promised, here are the cards from today's technique class. 

The first technique is a ribbon frame.  I just never get tired of this stamp set - natural beauty.  The background is from Cornish Heritage Farms.  I colored the image with Derwent Inktense pencils and a blender pen. 
The second technique is paper embroidery.  I found this idea here.   The flower stamp is a new one I picked up last weekend at Endless Creations. 
The third technique is frosted embossed acetate.   It was impossible to get a decent picture on this one, since the acetate reflects the light, and because of the frosted technique, you can't see through the acetate clearly.   However, I can assure you that, in reality, the card is pretty awesome.  The lace and sentiment is from Rubbernecker and the flowers are from roses in winter, another SU set I won't get rid of. 

Thank you so much for stopping by. 

Thursday, April 24, 2014

a new bag or two

Hi friends.  Have you missed me?  I think I've really been neglecting my blog.  But I really haven't been doing much creating lately.  This week I came across instructions for making a really quick bag from a t-shirt.  I had to try it.  I think it only took 10-15 minutes. 

I did one extra step.  After stitching across the bottom, I flattened the ends of the seam and stitched across to make a flat bottom on the bag.  Then I trimmed off the excess fabric triangles and overcast the edges.  Such an easy project that I couldn't stop at just one -- I made a second bag. 

Thursday, April 26, 2012

Hexagons

Hello, my friends.  It's been a long time since I've shown you anything on my hexagon quilt, which I started two years ago.  To see some previous blog posts showing some of my progress, click here, here, and here.  Some time ago, I sewed the blocks into strips, but they've just been sitting waiting for me to press the seams and sew the strips together.  Well last night, I finally decided to jump in and do it.  Today, I finished sewing the strips together and pressed all the seams.

Looking back on my first post about this, I see that my original plan was to add sashing between the blocks.  But when I sewed them together, I changed my mind and didn't do that.  So, when I spread it out on a bed to take a picture, I realized that I had seriously misjudged how many hexagons I'd need to make a bed sized quilt.  It doesn't quite cover the bed from head to foot.  I'm about four rows too short, or 36 more hexagon blocks.  Oops!  That means I have two options.  I can either make more hexagons... or I can make a lap/snuggle quilt instead.  I'm leaning toward adding on.

So... I guess that means I'm going to have to dig into my fabric stash and make more hexagons.  And I thought my next step was determining what fabric to use as backing.  I guess not.  Hmmmm.... I wonder where I put that pattern. 

Thanks so much for stopping by.

Friday, May 27, 2011

Butterflies

Hi my friends. Today was a sunny day, with temps around 60, so it seemed like a great day to get some planting done. I bought some large planters about a week ago and a few tomato plants to put in them. I also put a few marigolds around the edges of the planters. I put some cilantro in some smallers pots. I want to plant a few zucchini and yellow squash, but I need to do some more digging for that. I bought some lavender to replace the poppies by the front porch. Although I love the poppies, they bloom for such a short time and then just get ugly, so they are coming out. I may transplant a few of them to the back end of our property. We'll see how much energy and motivation I have when I start digging them up. Hopefully, the weather will stay cool for awhile, because I have a hard time working outside when it is really hot.

Last night was another Gina K Designs release party on Stamp TV, so of course, there were some card challenges. I managed to get both of them done after all my planting.

The first one was a single layer card, using only one image stamp, one sentiment and one embellishment. I used a stencil (SU) to add some color to the background with tea dye distress ink. Then I stamped the butterfly (take flight - GKD) with vintage photo distress ink and used a water brush to lightly spread the ink onto the image. The sentiment from the same set was also stamped in vintage photo ink.

I pierced a butterfly trail and then used a needle and brown thread to stitch along the trail. I sponged some vintage photo ink around the edges of the card and it was done.

My second card had to be black and white. I used the same stamp set, but used the other butterfly. I stamped it with versamark on black cardstock and embossed with white ep. Then I die cut it with my classic ovals nestabilities (Spellbinders). I cut and embossed a beaded ovals nestabilities in white to back the black oval.

Using a white card base, I put a layer of black and white dp (Me & My Big Ideas), and a strip of black on top of white cardstock. I used dimensional tape to attache the ovals.

I love simple cards.

Thanks so much for stopping by today. Have a blessed weekend.

Saturday, April 30, 2011

VSN Mini

Hi my friends. I hope you are having a great weekend. I did a bunch of stamping on Friday. It was a mini VSN on SCS. The theme is a pirate party, so all the challenges are somehow related to that theme. The first challenge, weigh anchor and hoist the mizzen, required the use of fabric on our card.

I started by stamping the sunflower group from Local King Rubber Stamps with tuxedo black memento ink on white cardstock, and coloring with copic markers. Then I looked for a piece of fabric that would match. I cut the fabric and sewed it to my cardstock with my sewing machine. After punching the edge of the image piece with a scallop edge punch, I added some small dots in the center of each scallop. After gluing that to the fabric piece, I tied a ribbon around it and glued that to my card base.

My next card was for an inspiration challenge. To obtain a look that was representative of the photo, I dragged some ink pads across a piece of watercolor paper and then spritzed it with water and used my fingers to blend the colors. That's a really good way to get inky fingers. Then I added a line of tiny buttons across the card on thread.

The sentiment is from PSX.

My next card was for a color challenge based on the colors of a parrot, green, orange, yellow & blue.

I colored my stamp from Wings of Friendship (SU) with markers, misted the stamp with water and then stamped. I die cut the image, as well as a couple more pieces in circles. One I also embossed with my textile embossing folder. I used a bird punch to make a second bird, which is attached with dimensional tape.

My last card is for the challenge, walk the plank. I used faux wood on my card background, using creamy caramel, . Stamps used are from Because I care (SU) I stamped with tuxedo black memento ink and colored with copic markers. Then I stamped linen (SU) over that with creamy caramel ink. Some black brads finish the card.

There was one more challenge, a sketch, but I didn't get that one done. I have until Monday evening to finish, so I may still do that one.

Thanks so much for stopping by today.