Showing posts with label christmas. Show all posts

Wednesday, December 9, 2020

Christmas snowflakes

 Hi friends.  One of my favorite crafts is crocheting.  Little stuff mostly - no yarn - only crochet threads.  Back in January of 2017, I posted about crochet motifs I was making into a shawl (actually two shawls - one white, and one multi-colored).  

Neither shawl is finished, but I found out that a single motif makes a great snowflake ornament for the Christmas tree.  So I've also been making a lot of those.  

Last year I gave some to family and friends for their trees.  This year I decided to make a bunch and give them away.  

After crocheting the motifs, they need to be stiffened with a glue/water solution and stretched, so they look nice on the tree.  I made a couple of cardboard mats for that.  Several layers of corrugated cardboard taped together.  Then I traced circles the size I needed, divided by eight, and poked a hole at each point so I could pin the snowflakes on it to dry.  Then I wrapped the cardboard with plastic wrap, so the snowflakes won't stick to it.  I'm using brass quilting pins, because they don't rust, but I wish I could find brass T-pins instead.  They would be much easier to work with.  I suppose I could cut off part of the pin.  I may have to try that, and see how it works. 


Most of the snowflakes are white or off white, but I have made some light blue ones and some yellow ones.  I guess the yellow ones would be stars instead of snowflakes.  I made a couple with some odd colors of crochet thread - a pink one and a dark green one.  I ended up painting them with some metallic acrylic paint, but didn't take pictures of those.  


I made little pockets for the ornaments, and included a little thank you note.  I needed something to put them in, so I covered a cardboard box with wrapping paper, added a handle and some decorations.  Today I coerced my husband to go with me to the hospital to take them to some of the deserving folks out on the front lines working with Covid-19 patients. During this year, I've barely been out of the house, so this was a new experience for me.  When I went inside the hospital, they took my temperature, and then they had to figure out what to do with the ornaments or how to distribute them.  I think I made 145, which is really just a drop in a bucket, compared to how many medical personnel work in even one hospital, but I hope they are an encouragement to those who receive them. 


Thank you so much for stopping by for a visit today.  I hope you all have a wonderful Christmas this year in spite of things being abnormal.  God bless. 

Monday, January 8, 2018

another doily

Hi friends,

Our Christmas celebration with my husband's family has been delayed until after the new year, so I had time to make another doily for my father-in-law's wife.  I chose a pattern that didn't look too difficult, and decided to use one of my older crochet hooks this time.  What a difference that made. 

Here is the pattern I used. 
I really love the two colors on this, but also know that takes longer when you need to switch colors and then weave in all those ends.  So, instead, I chose a variegated thread.  This one was started on a Saturday evening and finished by late afternoon on Monday.  I actually surprised myself that I was done so quickly. 

Here is the full doily.  I sure does look different in this thread.  This one is 15" across.  I simplified the final round. 
And here is a closeup bit. 
Thank you so much for stopping in to visit today. 

Saturday, December 20, 2014

in my happy place

Hi friends.  I'm working on Christmas presents.  I just have a few to finish.  Right now I'm making a few mug rugs -- basically -- mini quilts. 

I dug into my stash and found a box filled with squares sewn from triangles.  I had to press the seams, and then I picked out a bunch that matched and arranged them into blocks. 

I have these sewn, with the binding attached, but I still need to stitch (by hand) the binding down to the back, and then I will hand quilt them.  I don't think that will take very long.  I use the clips to hold the binding in place as I stitch. 

Here they are a bit closer, so you can see some of the detail better.


Thank you so much for stopping by.

Sunday, December 7, 2014

experiment

Hi friends.  If you've read my last couple of posts, you know that I've been making sonobe ornaments.  All of them have been made using recycled paper - some that has been printed on one side and discarded for some reason or other,

and some that was (glossy) magazine or catalog pages. 

I have discovered that the glossy paper isn't very receptive to some of my paint, so I either must use the colors that will cover the print, or first coat the paper with gesso.  Both are great solutions, but the gesso is just an extra step, and drying time prolongs the process.  The computer printer paper works much better for the lighter colors of paint. 

The problem -- I made a lot (and I mean a LOT - well over 100) of the ornaments in glossy before I discovered that little problem. This is a grocery bag about half full.  These are just the unfinished ones.  I have many on my tree and have given away quite a few as well. 

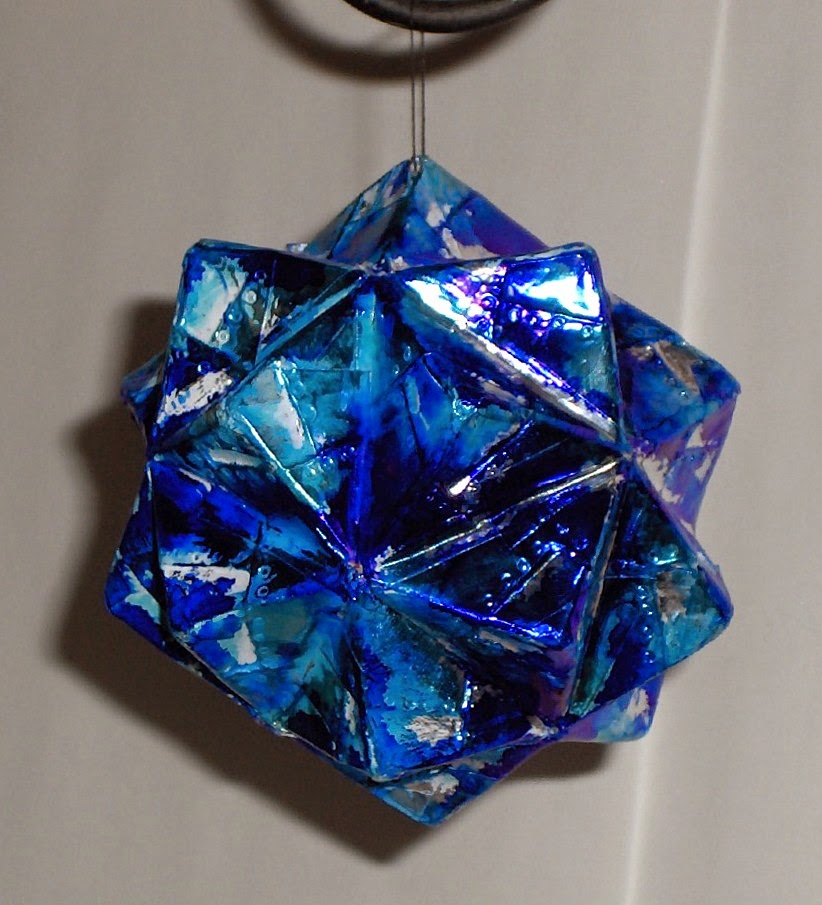
As long as I had a good supply to work with, I decided to try a technique called faux metal figures.  It requires that you completely cover your piece with foil adhesive tape.  Needless to say, this took a long time because of all the pyramids and valleys.  Then you use the point of a pen, stylus, mechanical pencil, etc. to make 'rivets'.  Sadly, these barely show in the finished piece. 

When I came to this point, my ornament was very shiny and bright.  I wanted to tone it down a bit, so I tried white acrylic paint.  Because the tape doesn't absorb any liquid, I had to wait a long time for the paint to dry.  By that time, I knew I didn't like the paint on it.  I attempted to remove the paint, but it was impossible to get it out of the crevices.  Frustrated, I decided to cover it as much as possible, so I used polished stone technique with alcohol inks.  I left much of the tape uncolored. 

Although not entirely happy with the end result, at least I was able to salvage it after all the work of applying the tape.

Thanks so much for stopping by.  


Friday, December 5, 2014

a little box

Hi friends.  I can't believe that I didn't post even once the entire month of November!  My bad!  I've been busy making origami sonobe Christmas ornaments and Christmas cards.  I don't even know how many sonobe ornaments I've made, because I've given many of them away.  I know the number is well over 100.  I made a lot of them with glossy pages from old mini catalogs from when I was a demonstrator for Stampin' Up!  

I've been painting them with Lumiere paints, but some of the lighter colors don't cover over the print.  I either have to use the colors that do cover, or start with an undercoat of gesso, which certainly adds to the time required to complete them.  I did find that I can use paper that had been through my printer and had been discarded for some reason.  I just need to fold all the printing to the inside, leaving the outside clean and white. 

I wanted to send one of these ornaments to a friend, so I decided to make a pretty little box to hold it.  I know this friend likes blue, so I'm giving her a blue ornament.  The box is turquoise, navy and white. 

I started with a 9" square of turquoise cardstock and scored at 3" and 6" in both directions using my Scor-Pal.  I trimmed out the four corners, leaving 1/2" tabs for gluing the sides together.  For the top, I used a 5-1/8" square and scored 1" from each side and trimmed the corners the same way as for the box bottom.  Before I glued the sides, I used a die from Spellbinders labels sixteen to make a cutout in the cover.  I attached some clear acetate inside the cover for a window. 

To decorate the box, I cut navy cardstock about 1/4" smaller than the sides and topped that with white labels sixteen, which I embossed with textile embossing folder and sponged with turquoise ink. 

On the sides of the cover, I added navy cardstock.  On the top four corners, I added small photo corners punched from navy cardstock. 

The box is 3"x3"x3" and the ornament fits just a bit loosely inside, so I'll add some tissue paper to make it look pretty and keep it from bouncing around. 

I've hung quite a few of these on my tree.   But I think it's more fun to see someone's face light up when you give them one.  I surprised the mail lady with one yesterday. 

I'm entering this box in the Scor-Pal blog challenge More than one Score #11 - Anything Goes.  Thanks so much for stopping by. 

Wednesday, October 29, 2014

neglected

Hi friends.  I see that I have been very neglectful of my blog lately.  So I guess I should show you some of the things I have been working on. 

I've done a little bit of crocheting.  Here are some small doilies that I made.  I didn't have a pattern.  I was working from a completed piece, so I made changes as I went along.  I tend to crochet very loosely, so I sometimes need more or fewer stitches as I go, so I simply adjust.  That's why I don't crochet things that have to fit someone.  This first one went in the mail today to a friend that has been going through some rough times. 
I should have placed this last one on a darker background, so it would show up better. 
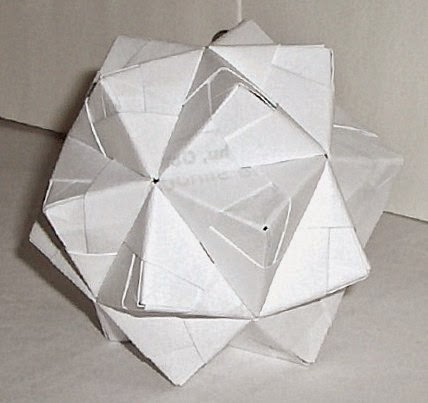
I've also been making some sonobe ornaments --- a lot of paper folding!  But the end result is pretty cool and actually quite sturdy.  Each one is made from 30 squares of paper.  I've made a few with 3" squares, one with 6" squares from brown grocery bags, and a couple of other sizes.  Mostly I've been using 2-1/2" squares.  The finished size is nice for a Christmas ornament, and the pieces aren't too awkward to work with.  I made one with 2" squares, but that was more difficult to put together.  The bigger ones are the easiest.  This is just one of many that I've made so far. 
I've been making with from glossy pages from some old SU mini catalogs and magazines.  I painted this one gold, but since the paint is translucent, you can still see words and images underneath.  

And, finally, I made my first mug rug.  I started it last night and finished it this morning.  

This one is pretty simple.  I used pieces left over from other projects.  My hand quilting stitches are rather crooked, so don't look too closely.  

Thanks so much for stopping by.


Sunday, December 15, 2013

it seems I've been missing...

Hi friends.  I didn't realize that it's been so long since I've posted.  I guess I haven't been doing a lot of creating.  Or maybe I have and just haven't posted anything.

After doing all the card for the Hope you can cling to challenges, I've been a bit of a slacker.  Sometimes I just need to sit back and take a break.

I have made some things, though.  I made some t-shirt yarn (there are a number of tutorials on YouTube) from some old t-shirts and crocheted a small rug for the bathroom.

And I made cards and an ornament (several, in fact) for my class last week.

These ornaments are made from four layers of cereal box chipboard, plus two stamped layers of cardstock.  I also made a couple using patterned paper instead of stamping.

And then last weekend was VSN (virtual stamp night) on SCS, with timed challenges, so I did a few of those.

This snow globe was a lot of fun and is going to be part of this week's class.  The front circle is clear, so you can see the scene inside the card.  Pretty cool. 

Thanks so much for stopping by. Have a great week.

Friday, August 9, 2013

dare to get dirty - page 5

Hi friends.  I hope you're enjoying all the cards I've been posting from the SCS fan club challenges.  Here are a few more.

Thanks so much for stopping by.

Friday, December 14, 2012

eggshell ornament

Hello, my friends.  It's time for another Friday Feature over on the Outlaw Women blog, well, really... that's the Outlaw Women Scrapbook Emporium (OWSE) blog.

My project this week is Christmas ornament made from cardboard boxes, old encyclopedia pages, crushed eggshells, glue and paint, with some beads for embellishment.

There are instructions on how it was made.  I hope you'll go check it out.

Thanks for stopping by. 

Friday, November 9, 2012

Friday Feature - Christmas cards

Hi my friends.  Although I'm a bit late posting, I have another Friday Feature over on the OWSE blog. 

I made some Christmas cards using  a fun folded tree from a half circle.  Go check it out. 

Thanks for stopping by. 


Friday, October 19, 2012

Friday feature on OWSE blog

Hello my friends.  I'm so excited to share with you that I've been invited to post regularly on the OWSE blog.  I will be doing a Friday Feature each week (hopefully).  My first post should be live today.  Go check out the Christmas ornaments I made.  I hope you find them as easy to make as I did.   Make some for your tree or to attach to a gift.

Thanks for stopping by.

Sunday, December 25, 2011

Joy to you

Merry Christmas, Everyone!

May your day be filled with JOY!