Showing posts with label acrylic paint. Show all posts

Tuesday, August 16, 2022

a new bag

 Hi friends.

I wanted to make a bag that was smaller than my purse, but that I could fit my phone in and maybe some cash and ID.  So I looked for some ideas and found a cute bag made from old jeans pockets.  I dug through my stash and found an old pair of jeans that had pockets I thought would work.  I cut the back pockets off along with the fabric behind them, which I trimmed close to the pockets except for the top edge, which I needed to attach closure flaps.  

I made flaps from some fabric I like.  Also, I made a long adjustable strap, so the bag could be a crossover.  I used some hardware from my stash as well.  The flaps close with velcro.  I sewed the two pockets together back to back, but I need to do a little hand stitching in a place that would not go through my machine.  

I decided that the bag needed a little bit of decoration, so  near the bottom edge (on both sides), I stamped a butterfly with archival ink.  Because I was stamping on fabric, some of the ink soaked into the fabric, and wasn't very dark.  

I used a tiny brush to paint the butterfly with acrylic paints, working in stages for the different colors and for both sides of the bag.  I used a stylus to put white dots on the wings.  When all the paint was dry, I went over the black outlines with a sharpie marker to darken them.  Then I gave the butterflies a coat of matte gel medium.  

I really love how the butterflies turned out.  And I'm happy with the bag. 


Thanks so much for taking time to visit today.  Have a wonderful day.  


Thursday, January 7, 2016

and then December happened

Hi friends.  I was going to try to blog a little more often... and then December happened.  I worked like crazy to get my Christmas cards all finished, addressed, and sent.  And I also volunteered to be a hostess for December's VSN on Splitcoast.  The theme was Around the World in 80 days.  For challenges, we picked a country and something pertaining to that country.  My challenge country was Indonesia and my challenge was to make a card using some type of batik technique or fabric. 

This card has a background created with the acrylic batik technique.  

This next card uses batik fabric.  A number of years ago, I was given a bunch of fabric pieces by a lady who was moving and didn't want all her quilting scraps.  Included were a lot of small scraps, but there were also some larger pieces.  This fabric was was part of that. 
I glued the fabric onto some cardstock and then die cut the circles. 

Along with having my own challenge, hostesses are asked to make samples of the other challenges if we have time, so I did that also. Here are a few of those samples. 


I'll share more of these soon.  Thanks for stopping by today. 

Saturday, July 4, 2015

Happy Birthday America!

Hi friends,

I knew it had been awhile since I posted here, but had no idea that it was so long.  I guess I've been slacking!

Gelli Arts - Gel Printing is giving away a gelli plate to someone who uploads a project to their facebook page.  The rules are stars and/or stripes and the giveaway is Monday, so I thought I'd enter the drawing.  My card also fits the mixability challenge this week - MIX127, which is red, white and blue. 

It all started with a used coffee filter that I tore into strips to use for stripes.  I didn't really want to make some sort of flag, but still wanted the feel of that, so I used a blue background instead of red, and made red flowers instead.

After gluing the strips to my card base, I splattered white acrylic paint on it.  I let it dry, but then decided I needed a few bigger splatters, so I ended up using my heat gun to finish drying the paint.

I stamped the sunflower group (Local King Rubber Stamps) with tuxedo black memento ink and colored them with copic markers.  Then I fussy cut them out.  When I laid the flowers on the background, I could see that there needed to be a bit more contrast, so I cut a partial oval with deckle scissors to place behind the flowers.  I sponged over the oval with vintage photo distress ink.

The sentiment (Hero Arts) was also stamped with memento ink & then sponged over with vintage photo. 

At this point, I thought I was finished, but then I decided to try some stars.  I punched a few and then just laid them on the card.  I took photo with them and without them to compare.  I decided I like it better with them, so I glued them down.  I love the vintage feel of this card, and I love that it hints at being our flag, representing our great country.

I'm proud to be an American!  Happy Independence Day to all my USA friends!

Thanks for taking time from your busy schedules to visit.

Thursday, January 29, 2015

more calendar art

Hi friends.  I decided I'd better get my calendar art done before the day was over. 

I glued the piece I had done yesterday on the January calendar, so I didn't have to make an extra piece. 

I had pinned a dala horse on my blue Pinterest board, and thought it would work for a tiny piece of art.  I did a google search for images, and printed one in the size I needed.  Then I cut around it and used the negative piece of paper as a stencil to sponge some blue acrylic paint on the date.  Once that was dry, I sponged some cool caribbean ink around the horse.  Then I decorated the horse with a white gel pen. 


Thanks so much for stopping by. 

Monday, December 8, 2014

more

Hi friends.  I just had to share a couple more sonobe balls.  I'm not really calling these ornaments, because they are just too big for the tree. 

When I first started making these, I was curious as to how well it would work using brown paper bags, not the flimsy flat ones, but the heavy ones from the grocery store. 

I made two different sizes, two with 4" squares and one with 6" squares.  It is definitely easier to put together the larger sizes, but I did find out that because this paper isn't as smooth, that was actually an obstacle when putting the pieces together.  I think it would have been close to impossible to use this paper on a smaller ball. 

The gold one is painted with gold Lumiere paint.  And for the one in the front in this next picture, I stamped each square with a burlap background stamp from Cornish Heritage Farms in coffee archival ink.  After it was all put together, I coated it with matte Mod Podge.  I love how that one turned out. 
And just for comparison, here is the biggest one along side one of the ornaments.  I think I'm going to paint the large one, but I haven't decided on a color yet. 

You can really see the detail of how the pieces are tucked into each other. 

Thanks so much for stopping by. 

Sunday, December 7, 2014

experiment

Hi friends.  If you've read my last couple of posts, you know that I've been making sonobe ornaments.  All of them have been made using recycled paper - some that has been printed on one side and discarded for some reason or other,

and some that was (glossy) magazine or catalog pages. 

I have discovered that the glossy paper isn't very receptive to some of my paint, so I either must use the colors that will cover the print, or first coat the paper with gesso.  Both are great solutions, but the gesso is just an extra step, and drying time prolongs the process.  The computer printer paper works much better for the lighter colors of paint. 

The problem -- I made a lot (and I mean a LOT - well over 100) of the ornaments in glossy before I discovered that little problem. This is a grocery bag about half full.  These are just the unfinished ones.  I have many on my tree and have given away quite a few as well. 

As long as I had a good supply to work with, I decided to try a technique called faux metal figures.  It requires that you completely cover your piece with foil adhesive tape.  Needless to say, this took a long time because of all the pyramids and valleys.  Then you use the point of a pen, stylus, mechanical pencil, etc. to make 'rivets'.  Sadly, these barely show in the finished piece. 

When I came to this point, my ornament was very shiny and bright.  I wanted to tone it down a bit, so I tried white acrylic paint.  Because the tape doesn't absorb any liquid, I had to wait a long time for the paint to dry.  By that time, I knew I didn't like the paint on it.  I attempted to remove the paint, but it was impossible to get it out of the crevices.  Frustrated, I decided to cover it as much as possible, so I used polished stone technique with alcohol inks.  I left much of the tape uncolored. 

Although not entirely happy with the end result, at least I was able to salvage it after all the work of applying the tape.

Thanks so much for stopping by.  


Friday, December 5, 2014

a little box

Hi friends.  I can't believe that I didn't post even once the entire month of November!  My bad!  I've been busy making origami sonobe Christmas ornaments and Christmas cards.  I don't even know how many sonobe ornaments I've made, because I've given many of them away.  I know the number is well over 100.  I made a lot of them with glossy pages from old mini catalogs from when I was a demonstrator for Stampin' Up!  

I've been painting them with Lumiere paints, but some of the lighter colors don't cover over the print.  I either have to use the colors that do cover, or start with an undercoat of gesso, which certainly adds to the time required to complete them.  I did find that I can use paper that had been through my printer and had been discarded for some reason.  I just need to fold all the printing to the inside, leaving the outside clean and white. 

I wanted to send one of these ornaments to a friend, so I decided to make a pretty little box to hold it.  I know this friend likes blue, so I'm giving her a blue ornament.  The box is turquoise, navy and white. 

I started with a 9" square of turquoise cardstock and scored at 3" and 6" in both directions using my Scor-Pal.  I trimmed out the four corners, leaving 1/2" tabs for gluing the sides together.  For the top, I used a 5-1/8" square and scored 1" from each side and trimmed the corners the same way as for the box bottom.  Before I glued the sides, I used a die from Spellbinders labels sixteen to make a cutout in the cover.  I attached some clear acetate inside the cover for a window. 

To decorate the box, I cut navy cardstock about 1/4" smaller than the sides and topped that with white labels sixteen, which I embossed with textile embossing folder and sponged with turquoise ink. 

On the sides of the cover, I added navy cardstock.  On the top four corners, I added small photo corners punched from navy cardstock. 

The box is 3"x3"x3" and the ornament fits just a bit loosely inside, so I'll add some tissue paper to make it look pretty and keep it from bouncing around. 

I've hung quite a few of these on my tree.   But I think it's more fun to see someone's face light up when you give them one.  I surprised the mail lady with one yesterday. 

I'm entering this box in the Scor-Pal blog challenge More than one Score #11 - Anything Goes.  Thanks so much for stopping by. 

Thursday, October 30, 2014

fan fold leaf

Hi friends.  Today I have a card that I used in my technique class this month.  The fan fold leaf was highlighted on the Scor-pal blog.  I used a reduced version of the pattern to make my leaf fit on a card.  I'm entering my card in Scor-pal's October challenge - "more than one score - challenge #9 - fall/halloween". 

My card base is SU retired close to cocoa, with a layer of black on that.  The ivory cardstock was stamped with Hero Arts leaf & floral background in creamy caramel ink (SU). 

For the leaf, I started with plain paper, which I sprayed with red and yellow homemade paint sprays.  Once the paint was dry, I traced the leaf pattern.  I used my Scor-pal to score every quarter inch, and then I fan folded the paper.  Then I flattened it back out, so I could cut out the leaf and then refold the creases.  I really love the dimension on this leaf. 

I attached a small wire at the center and glued the two sides at the center.  I used vintage photo distress ink to sponge along the edges of the leaf before attaching it to the card. 

The sentiment is from SU teeny tiny wishes.  To finish off the card, I added black punched with the word window punch and cut in half. 

Thanks so much for stopping by. 

Wednesday, October 29, 2014

neglected

Hi friends.  I see that I have been very neglectful of my blog lately.  So I guess I should show you some of the things I have been working on. 

I've done a little bit of crocheting.  Here are some small doilies that I made.  I didn't have a pattern.  I was working from a completed piece, so I made changes as I went along.  I tend to crochet very loosely, so I sometimes need more or fewer stitches as I go, so I simply adjust.  That's why I don't crochet things that have to fit someone.  This first one went in the mail today to a friend that has been going through some rough times. 
I should have placed this last one on a darker background, so it would show up better. 
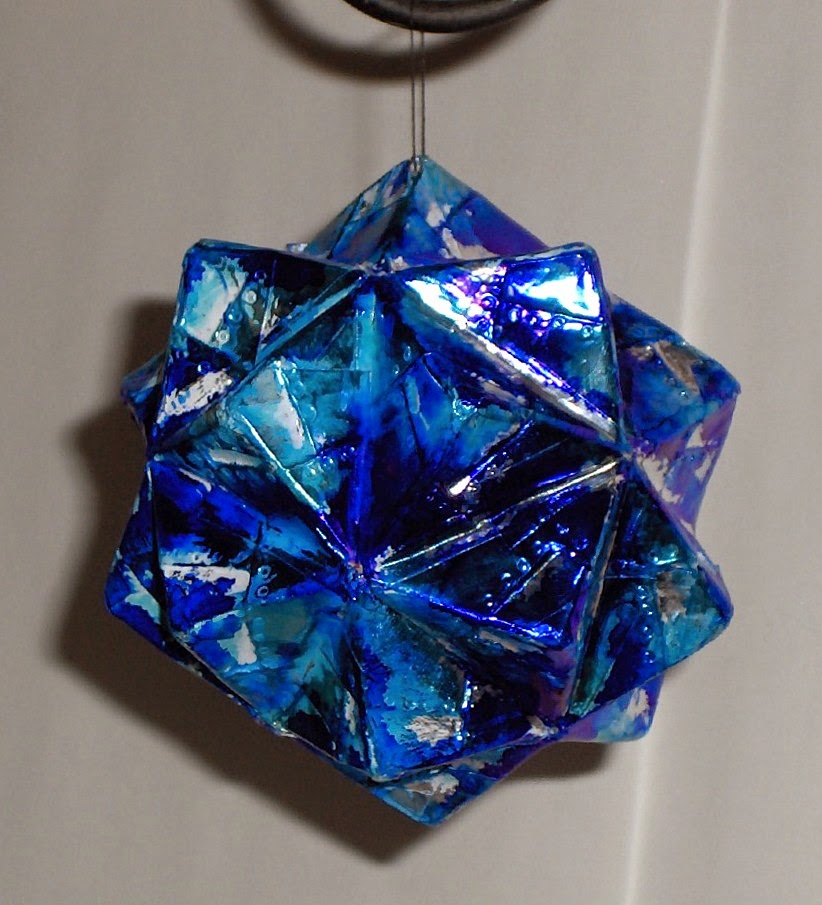
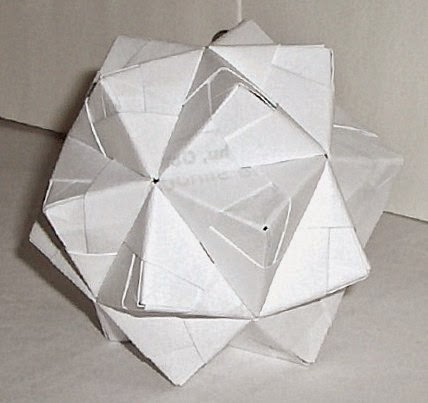
I've also been making some sonobe ornaments --- a lot of paper folding!  But the end result is pretty cool and actually quite sturdy.  Each one is made from 30 squares of paper.  I've made a few with 3" squares, one with 6" squares from brown grocery bags, and a couple of other sizes.  Mostly I've been using 2-1/2" squares.  The finished size is nice for a Christmas ornament, and the pieces aren't too awkward to work with.  I made one with 2" squares, but that was more difficult to put together.  The bigger ones are the easiest.  This is just one of many that I've made so far. 
I've been making with from glossy pages from some old SU mini catalogs and magazines.  I painted this one gold, but since the paint is translucent, you can still see words and images underneath.  

And, finally, I made my first mug rug.  I started it last night and finished it this morning.  

This one is pretty simple.  I used pieces left over from other projects.  My hand quilting stitches are rather crooked, so don't look too closely.  

Thanks so much for stopping by.


Tuesday, September 2, 2014

fan club challenges part 12

Hi friends.  Here are some more cards from the dare to get dirty challenges on SCS. 

A shaker card. 

I used some DIY spray paint for the background on this card.  This is one of my favorites of all the cards that I made. 

Polished stone background and some shrink art leaf charms. 

Thanks so much for stopping by. 

Sunday, July 27, 2014

ink pads

Hi friends.  I thought I'd let you know what I've been working on this past week.  I've been storing my distress ink pads in one of those clear plastic shoe boxes, and every time I wanted one, I had to dig for it.  A long time ago, I decided to make a holder to fit all of them.  I was using cereal box chipboard, gluing five layers together to make it really sturdy.  The only problem was that it was taking way too long and other things took priority.  Anyway, the other day I pulled out what I had done and started working on it again.  Again, I realized that I was making way too much work for myself.  So I ditched the original idea and started over.  Nothing like changing course midstream.


This time I chose to make a rectangular tube (again from cereal box chipboard) that would fit around each ink pad.  I cut each piece 8"x2-3/4" and scored at 3", 4", and 7", gluing a piece of paper over the corner where the ends meet after folding.  Then I glued them together in stacks of 12 and wrapped another piece of chipboard around the back and glued to the sides.  I put paper over the open edges at the top and bottom.  Then all four stacks were glued together, and I added extra layers on the top and bottom to reinforce them. This first picture is after I put all the pieces together, but had not decorated it yet.  The ink pads fit snugly, but not too tight.  I have labels on all four sides of the ink pads, so it makes no difference which way they go into the shelves.  And I prefer storing them alphabetically.  It's so much easier to find them that way. 


I used torn old book pages to cover the outsides and painted the front edges white.  If you peek inside, you can see the print from the cereal boxes, but I'm not going to worry about that.  Notice the difference the white paint on the front makes. 

Now it's all loaded up with my ink pads and I'm happy with it.  It's relatively sturdy, so I think it will be sufficient.  Hopefully, Tim won't add more colors anytime soon.  If I were starting over, the one thing I would change would be to add some sort of notch at the front of the shelves beneath the ink pads to make it easier to pull them out. 
 
This last picture shows a bit of the outside - not fancy - just practical.  The only other thing I need to do is add a color swatch to the labels. 

Thanks so much for stopping by. 

Saturday, July 19, 2014

patchwork

Hi friends.  Friday's mix-ability challenge on SCS was to make some patchwork.  As a quilter, how can I resist such a challenge.  This is a mixed media challenge and requires that at least two different mediums are used. 

I pulled out a bunch of scraps and leftovers from other projects.  Then I used a square punch to make the blocks.  I used some corrugated cardboard, burlap ribbon, some inked and embossed pieces, stamped cardstock, some prints from my gelli plate, and some melted crayon that was just an experiment. 


After gluing all the blocks on my card, I added faux stitching. 

The flower was already stamped and colored.  I just needed to cut it out.  I attached it with dimensional foam tape. 

Thanks so much for stopping by. 

Friday, January 3, 2014

happy little birdies

Hi friends.  Today was the mixability challenge (mixed media) on SCS.  I haven't participated in this challenge very much, so I thought I'd play today.  The challenge was to make finger painted clouds.  The only other requirement is that more than one type of medium is used.  I used acrylic paint for the clouds, and my other medium is ink. 

I started with a piece of periwinkle cardstock and made the clouds.  Then I stamped the birds on the wire (a muse) with black stazon.  I extended the line with a pitt pen and added the extra bird on the left.  The birds are colored with a creamy caramel marker. 

I punched the corners with a ticket corner punch and backed the piece with black, adding a few dots in each corner with a pitt pen. 

I used two strips of pattern paper and added fancy photo corner punches. 

The sentiment is hero arts.  All in all, a pretty quick and easy card. 

Thanks so much for stopping by. 

Sunday, December 15, 2013

it seems I've been missing...

Hi friends.  I didn't realize that it's been so long since I've posted.  I guess I haven't been doing a lot of creating.  Or maybe I have and just haven't posted anything.

After doing all the card for the Hope you can cling to challenges, I've been a bit of a slacker.  Sometimes I just need to sit back and take a break.

I have made some things, though.  I made some t-shirt yarn (there are a number of tutorials on YouTube) from some old t-shirts and crocheted a small rug for the bathroom.

And I made cards and an ornament (several, in fact) for my class last week.

These ornaments are made from four layers of cereal box chipboard, plus two stamped layers of cardstock.  I also made a couple using patterned paper instead of stamping.

And then last weekend was VSN (virtual stamp night) on SCS, with timed challenges, so I did a few of those.

This snow globe was a lot of fun and is going to be part of this week's class.  The front circle is clear, so you can see the scene inside the card.  Pretty cool. 

Thanks so much for stopping by. Have a great week.

Friday, November 8, 2013

you are a blessing

Hi friends.  Friday is the day for mixability challenges on SCS -- or mixed media.  I have intentions to do them all, but have not been very faithful.  Today's challenge was no paper.  In other words, your card base could be paper, but all other layers had to be something other than paper. 

I started with a piece of tan canvas, on which I put two coats of gesso.  I didn't want to  completely cover it, just enough to get a lighter background to work with. 

Then I got out one of my handmade stencils and used distress paints to make the flower.  I then sprayed some brown and blue spray paint (which also was DIY). 

I stamped the sentiment (alias smith & rowe) and the butterfly (hero arts) with jet black archival ink.  There were a couple of spots that didn't stamp well on the canvas, so I just used a pigma marker to fill in any missed lines.  Then I used a copic marker to color the butterfly.  I was really careful with that, because it was picking up some of the black ink, and I didn't want it to be all muddy.

I inked the edges with vintage photo distress ink. 

Thanks so much for stopping by. 

Sunday, October 27, 2013

hope you can cling to days 26 and 27

Hi friends.  Here are two more cards for the breast cancer awareness challenges on SCS.

Challenge twenty-nine - mixing it up - mixed media.  Create a card using mixed media. 

I started with a piece of toilet paper tube covered with a used coffee filter and coated with gesso.  Then I die cut a bird (forest bird - memory box) in a piece of cardboard from a tissue box.  Using the negative piece as a stencil, I sponged two colors of blue paint through the stencil.  Once that was dry, I outlined the bird with a Pitt pen and sponged vintage photo distress ink around the edges.  I layered the piece on black and ballet blue card stock.  

The background was made using leaf & floral background stamp (hero arts).  I colored it with blue distress stains, spritzed it with water and stamped on white card stock.  I also edged this with vintage photo ink.  I punched some circles from black and ballet blue, cut them in half and attached them with silver brads.  Then I layered this on black and a ballet blue card base.  

I stamped the sentiment in black on white card stock, punched it out and sponged the edge, before tucking it underneath the main image.  

Challenge thirty - Honor Your Elders.  Make a card to honor your elders.  

I stamped the windmill (B&J art stamps) in jet black stazon ink on white card stock and layered it on black.  Then I created a background text on my computer and printed it.  I popped up the image on foam tape.

Thank you so much for visiting today.  

Thursday, September 5, 2013

autumn

Hi friends.  I've seen a lot of faces all around blogland lately.  I've wanted to learn how to make them, or more precisely, paint them.  So I've been watching videos and have joined some groups, hoping to learn.  Drawing a face isn't really the issue.  My problem is putting a brush in my hand and figuring out how to blend paint to get the right shadows and highlights.  So far, the main medium I've used is watercolor crayons and pencils.  I really want to learn how to use acrylic paints for this. 

So I've begun... made a face... but then got stuck on the background.  So, I made another face... and got stuck on the background.  So, I made another, and another... (you get the picture).  Robyn (OWSE Yahoo group) has been pushing me to get one finished.  So I finally did!  Yay!  This one is done on 11"x15" watercolor paper. 

Of course, if you know me at all, you know that I rarely take the typical/normal route.  I guess I'm one of those who takes the road less traveled. 


Robyn has a challenge this week in the OWSE facebook group to make something for fall.  So I made my background from die cut leaves and pattern papers.  I stamped on some of them and edged them all with vintage photo distress ink.  I trimmed some so they look like they are actually behind her, and left some in front. 

I also put a few in her hair with a button embellishment. 

I hope you like her as much as I do.

Friday, August 30, 2013

word play - g

Hi my friends.  How about another page spread from my word play journal?  To see all the completed pages, click here.  There's a challenge in the OWSE Yahoo group for the month of August, to create something that refers to what we did this summer.  So, I'm cutting it pretty close to the deadline, which is tomorrow. 

I have what I refer to as my garden.  What it really consists of is four large half-barrels, in which I planted tomatoes.  This is my third year, and what I would consider my first successful one.  The last two years apparently were not good ones for growing tomatoes, because I got very little produce from any of the plants.  But this year I'm happy with how many tomatoes I'm getting.  And the best part -- they are soooo yummy. 

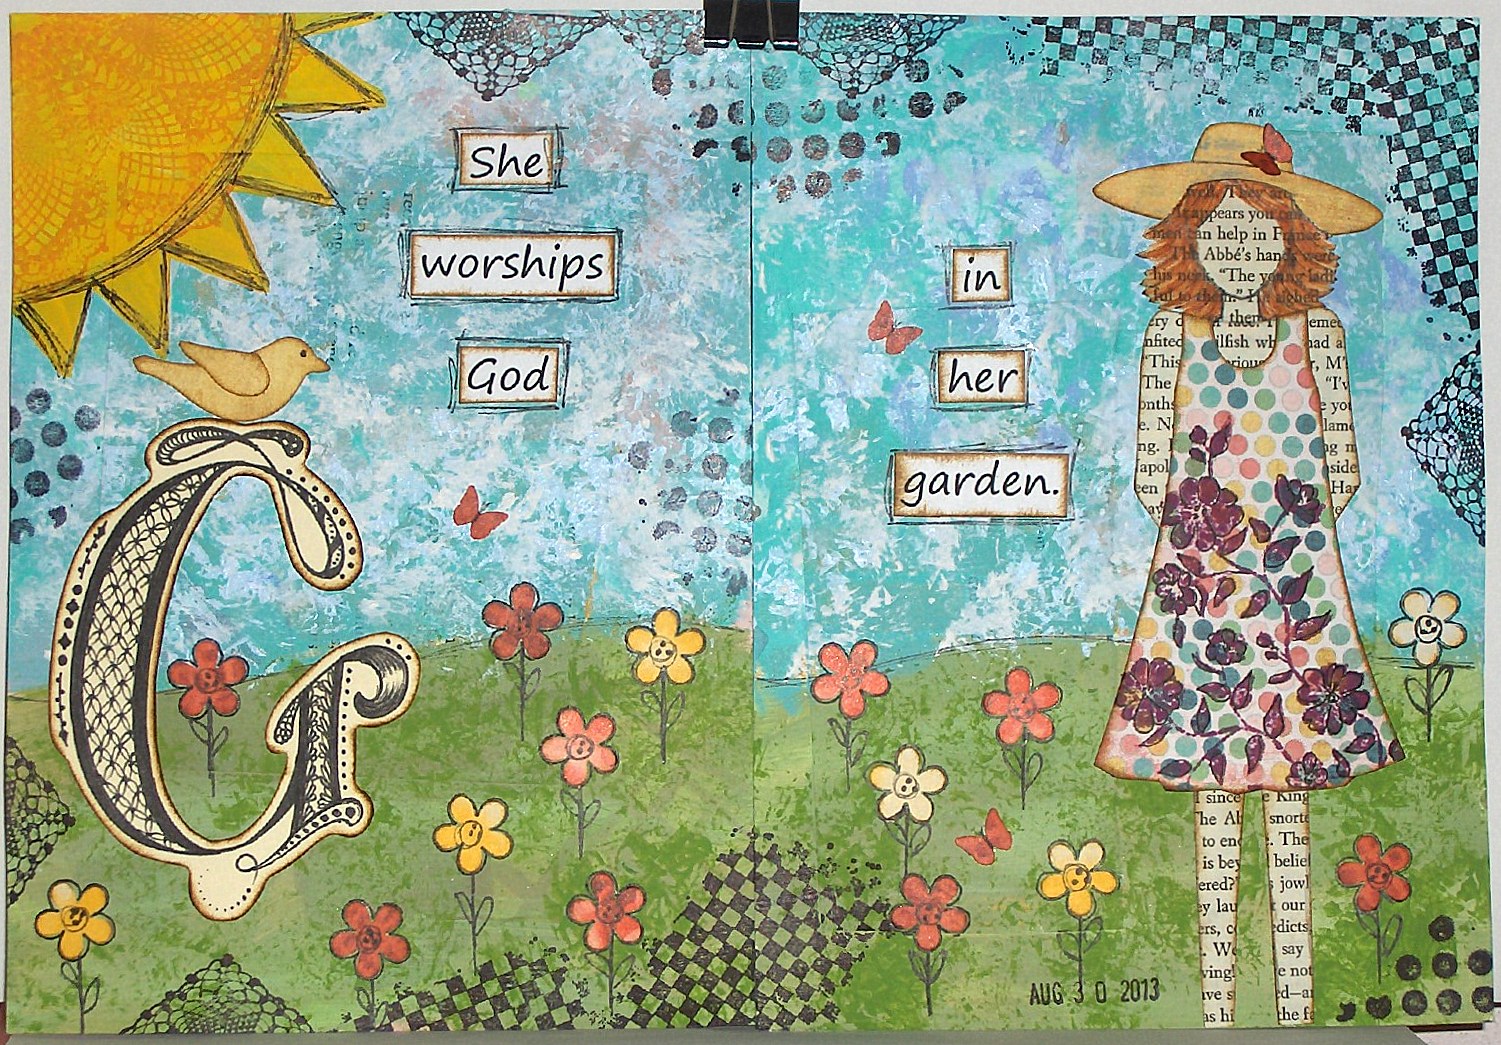
So I made my page spread about a garden.  I have a number of the new Prima mixed media dolls by Julie Nutting, but I didn't think their dressy/flirty style fit with my garden theme, so I decided to try a 'she art' doll.  This is my first attempt, and I'm happy with it.  I used an old book page and designer paper.  The dress is also stamped with flowers.  After cutting out the hat, I cut a slit to fit her head into. 

When I started this journal, I created the base for each page right at the beginning, but for this page, I covered it all up with paint, since it just didn't match my theme. 

To get the texture in the sky, I pounced a stencil brush and gesso over the blue paint. 

The sun is painted, outlined and stamped with a doily stamp.  The flowers are punched and outlined.  The stems and leaves are hand drawn. 

The 'G' is hand drawn and zentangled.  The sentiment is computer generated.   The bird is cut with a Sizzix die and the butterflies are punched with a Martha Stewart punch. Most of the pieces on this spread have been edged with vintage photo distress ink. 

I also did some random stamping with a Gina K. stamp and Tim Holtz stamps. 

Thank you so much for stopping by today.  I hope you have a wonderful weekend. 

Saturday, August 24, 2013

word play - F

Hi friends.  Another spread in my word play journal.  I told my daughter that this was my 'F' word, and she just snickered.  But no bad language here.  My word for the letter F is friends.  You can find all the completed pages here. 

I wanted to make something for the weekly challenge on the OWSE facebook page, I decided to to make another spread for this journal.  There were some choices for colors, and I chose green and yellow.  This is really not one of my favorite color combinations, but I guess I need to step out of my box once in awhile.

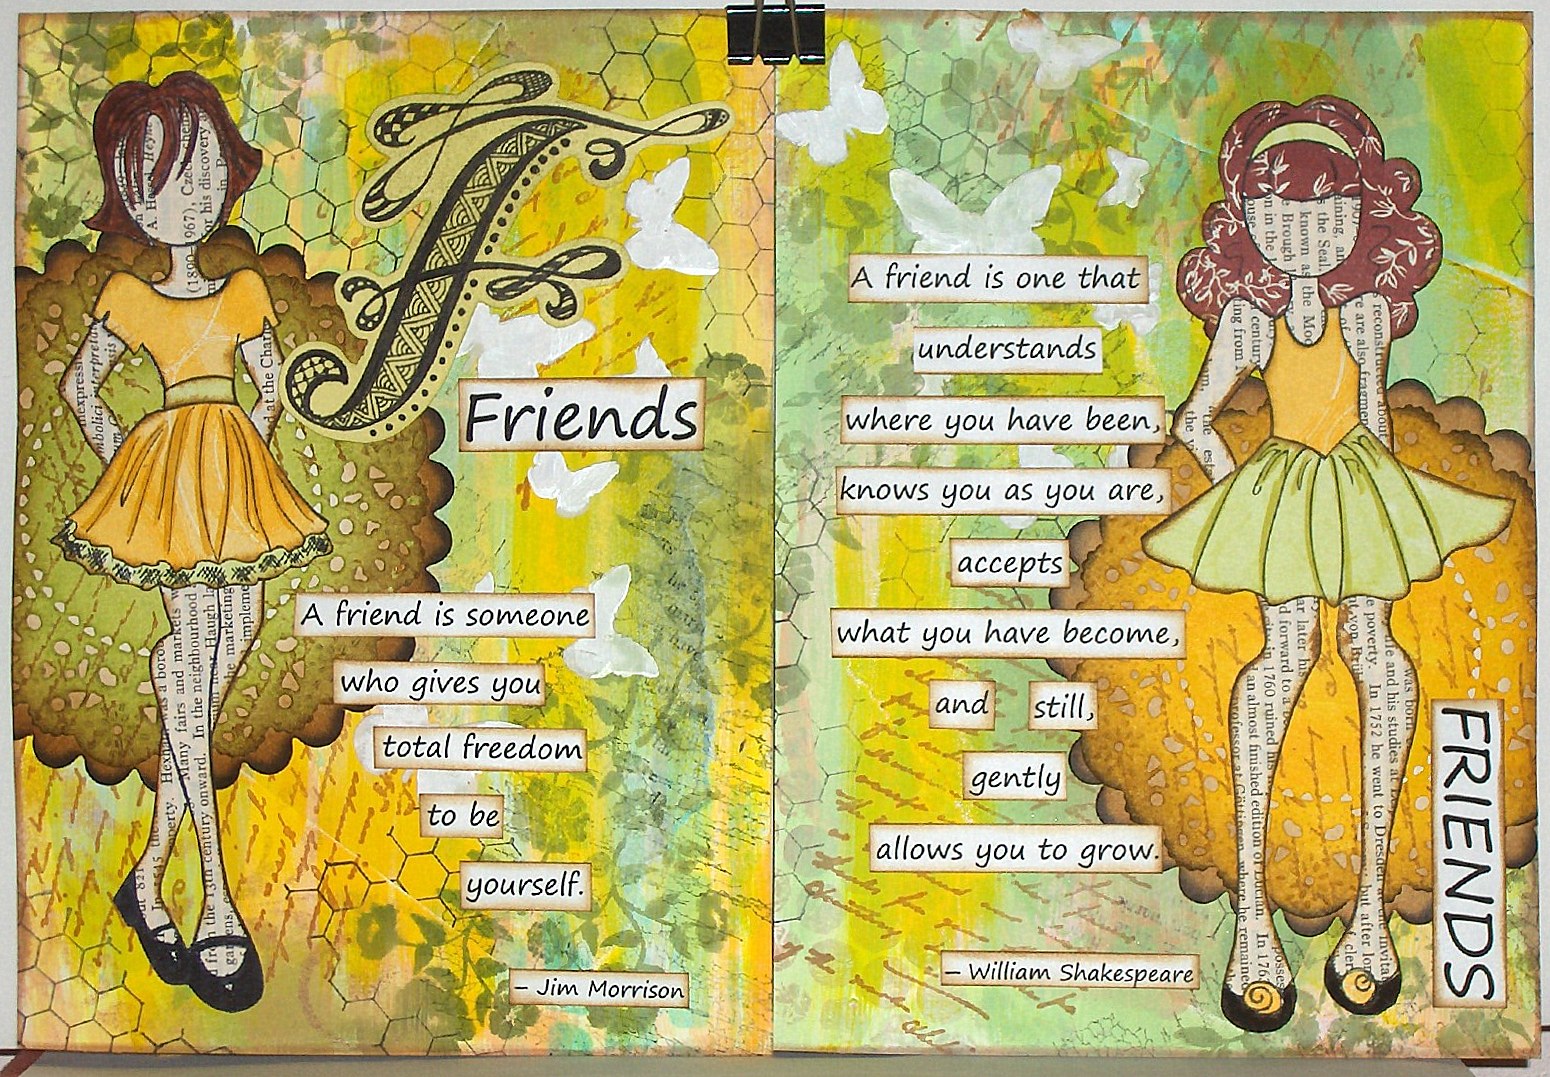
Although the background of the pages was done previously, I added more color with both paint and ink.  Then I did a bunch of stamping and added some texture with modeling paste and a butterfly stencil (Red Lead).  In a couple of places, the ink underneath bled through the modeling paste, so I went over that with white acrylic paint.  It didn't completely cover, but I thought it wasn't too noticeable, since the background is pretty busy anyway, and I was going to cover up a lot of it with the dolls and the words. 

I used two of my new Prima mixed media dolls by Julie Nutting.  I have a hard time remembering the names.  I first glued a page from an old encyclopedia onto a piece of this card stock and then stamped the dolls on that and cut them out.  I paper pieced the clothes and the hair on one. 

Behind the dolls are die cuts of a French pastry doily die (Cheery Lynn Designs) and a Sizzix scalloped circle. 

The words were printed on my computer and cut out.  The edges on everything are sponged with vintage photo distress ink.  The letter F is done with zentangles or zendoodles, whichever you want to call it.

Thanks so much for stopping by.