Showing posts with label pop up. Show all posts

Thursday, September 7, 2017

pop up cube card

Hi friends.  You may have noticed that I haven't posted anything in ages.  I think there are days (maybe weeks, even) that I completely forget that I have a blog.  Must be senior brain cells at work. 

Anyway, today I made a couple of birthday cards for the neighbor boy and girl across the street.  They have birthdays on consecutive days. 

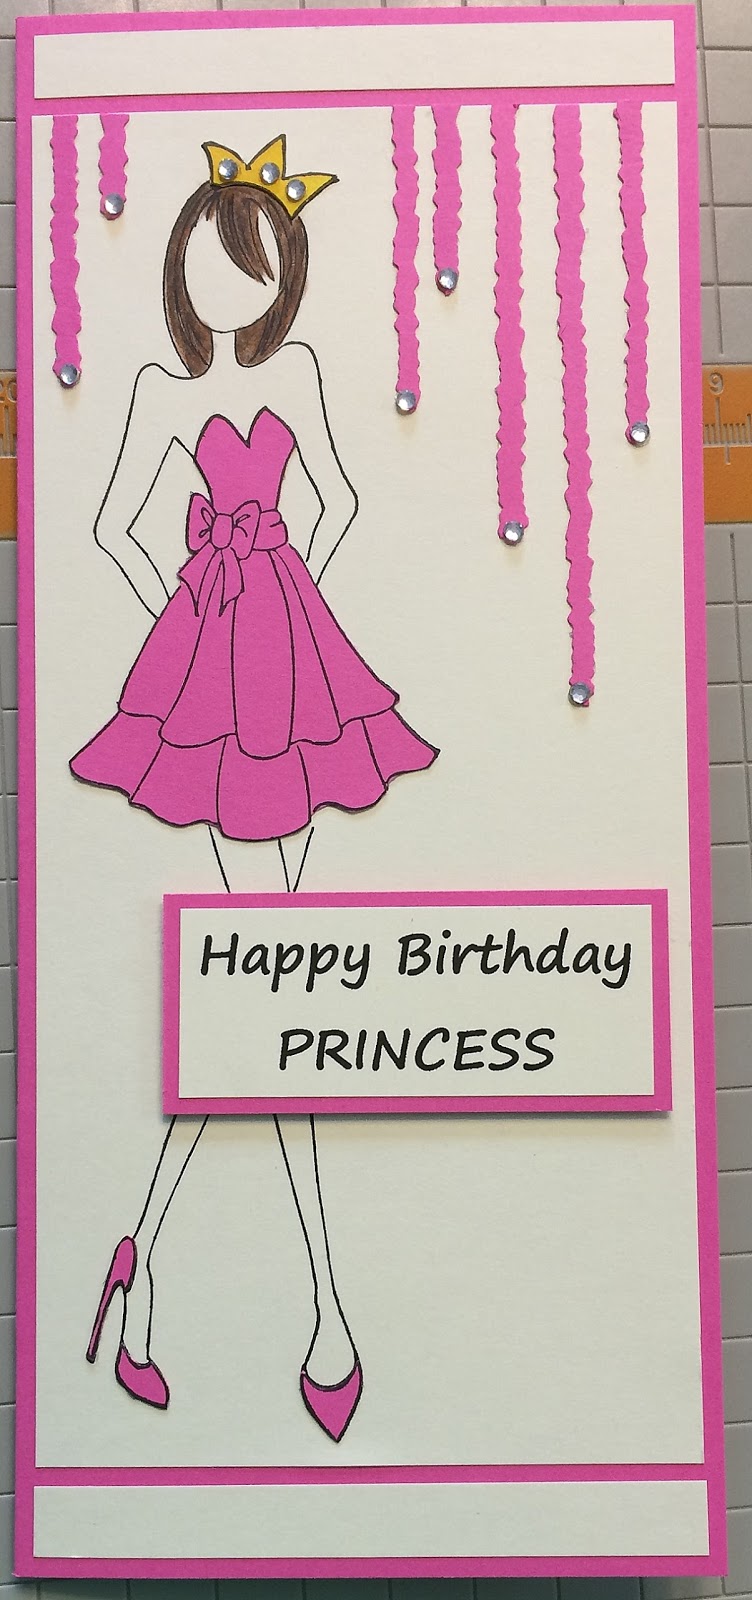
I made a girlie girl card for her. 
The stamp is one of the Prima mixed media dolls by Julie Nutting.  I did paper piecing for the dress, shoes and crown, and colored the hair with watercolor pencils and blender pen.  I added some streamers, which were cut with deckle scissors, and added some rhinestones. 

Because he is very involved in baseball, I had to make some sort of baseball card of course.  Some time ago, I made a fun pop up cube box following this video.  It's really a fun card, but the thing I don't like about it is that it isn't flat, so it doesn't mail easily.  I did a little browsing online and found some ads showing more of a wrap than a box, so I decided to figure out how to use that instead of the box.  I did see a video that made a cube inside of a card, but the dimensions were smaller and the girl doing the video used a tool which I don't have, so I would need to refigure all the dimensions, and I really didn't have time to, if I wanted to get the card done today.  Instead, I realized that the 3" cube would fit inside a 3-5/8"x6-1/2" envelope, so I made the wrap 3-1/2"x6-1/4" to fit that, and the cube fits inside flat.  This is the front outside of the wrap. 
This is the back side.  I made a slit and a tab to fit in it, which holds the card closed.  My camera died last week, so I've been using my phone to photograph my cards.  I've no idea why this came out vertical. 
The paper is kraft, so I used a sponge dauber and white pigment ink to press and twist a bit to make the baseballs white.  I heat set them to make sure the ink was dry.  When you pull the tab out, the cube inside literally flies out - really fun.  I think it actually works better than in the box, because if you don't pull the box out quickly, you really don't get the pop.

Here is the card open.  

Thanks so much for stopping by. 

Saturday, May 6, 2017

prism pop up tent card tutorial

Hi friends.  Would you believe I have another tutorial for you?  I saw this fun pop up card in an ad, and I just knew that I had to figure it out and make one, or two, or...  well, you know how that goes.  

There are a lot of photos, because I think it helps to explain things, and I don't have a clue how to make a video.  So, here we go.  

As I figured out the mechanism to make the card work, I also wanted to make sure that it would mail as an A2 card, so that is the basis for all the measurements.  

You will need: 
card stock for the prism part of the card: 4¼"x 8½" (1) - groovy guava used here
card stock for pull tab A: 5¼"x2-5/8" (1) - groovy guava used here
card stock for pull tab B: 5¾"x2-5/8" (1) - groovy guava used here
pattern paper for layers on pull tabs: 5"x2-3/8" (2) - dictionary pages used here
stamped card stock for layers on prism: 4"x2¼" (2) - dictionary pages used here
ScorPal
Fiskars cutting tool (or craft knife & mat)
adhesive
corner rounder 

I made this one earlier in the week, posted it on Splitcoaststampers, and got a number of requests for instructions.  Hence, the tutorial. 
Place the prism piece on your ScorPal with the long side on top and score at 2-1/2", 5", and 7-1/2".  Mountain fold all scores and round the corners.  Although they will not show on the finished card, rounding the corners helps the mechanism work smoothly.  I used a 1/2" corner chomper.  I'm using white card stock for many of the photos, since it easier to see the folds.  I marked them with green. 

Place pull tab B on your ScorPal with the long side on top and score at 1/2". 


On the prism piece, at 1-1/4", 2-1/2", and 7-1/2", cut a slot from 3/4" to 3-1/2" (marked in black).  

Lay the prism piece so the smallest panel is on the right and the folds are valley (this is the inside of the prism).  Adhere the left end of pull tab A to the small panel of the prism, centering the edge along the slot.  For the mechanism to work properly, be sure everything is straight. 

Before attaching pull tab B, it helps if you fold over pull tab A and mark the edges where pull tab B will be placed.  (next 2 photos - note the green horizontal marks) 

With the 1/2" panel of pull tab B to the right, align the fold with the slotted fold on the left of the prism, again centering along the slot (if you marked as above, you will be placing the 1/2" panel between the marks).  Adhere the 1/2" panel to the right of the slot.  

This is what is should look like now.  


And standing up.  

Now is the time to add your layers to the pull tabs.  They will go on the sides that face the center.  Once the mechanism is in place, these will face the front of the card.  I stamped on a dictionary page, using branches and leaf lines (SU sets). 

Tuck pull tab B (left one) through the slot under pull tab A.  

Tuck pull tab A from the outside through the slot on the opposite end and back out the next slot.  

Turn the card over to the front.  You can now see the ends of the pull tabs.  Make sure any directional design is in the correct position when placing the front layers on the card. 

Add your stamped card stock layers to the front of the prism.  I stamped a Hero Arts image on a dictionary page and painted the image with Koi watercolor paints and a water brush.  

Pull both tabs to open the card and stand up the prism.  

This card will stand on its own.  

This is how it looks from the top and the back.  

After I got this far, I decided I wanted to sponge the edges with vintage photo distress ink, so I opened the card back up in order to do the edges of the pull tabs.  Here is my finished card. 

To close the card, you simply push the pull tabs back towards the center and the card will flatten to fit in an envelope.  

I hope you enjoyed my tutorial and will try making this very fun, interactive card.  If you have any questions or confusion with the instructions, please feel free to email me. 

Thanks so much for taking time to visit today. 

Saturday, February 27, 2016

flying butterfly pop-up card

Hi friends. 

Lately I've been working on cards that are a bit different than your typical A2.  I love cards that have something unique about them.  Splitcoaststampers has a tutorial section that has fun techniques, as well as cards that have unique folds or are interactive.  Of course, there are many other sources for fun cards as well.  Pinterest is another favorite of mine, although sometimes it's disappointing to follow a link only to find no instructions. 

The instructions for this card I have to show you today were found on Jill Berry's blog.  The way the card is put together makes the butterfly wings flap.  Very fun. 

I made one for my man for valentines day, and he couldn't figure out how to make the wings flap, so I decided to add the word pull on each edge. 

Isn't it fun.  If I knew how to do a video, I'd show it in action, but I haven't figured that out yet.  Maybe someday... 

Thank you so much for taking time to stop by. 

Saturday, June 7, 2008

A fun pop up card

Happy Saturday, everyone. We certainly had some violent storms here today. We had some golf ball size hail. I'd never seen hail that big before. Usually it's about the size of a pea. Of course, when all the sirens went off, we all just gathered around the TV and watched the storm out the windows. I love watching storms and my daughter is just as bad.

Saturday is the day for the inspiration challenge on splitcoast. I was happy to see it posted early last evening and I went right to work. I had made a pop up flower earlier in the week, but had not put it into a card and when I saw the inspiration, I knew it was perfect.

To create the four panels, I inked up pretty petals background in garden green. Then using a moist tissue, I removed the ink from the butterflies and flowers and then colored them with rose red and brocade blue markers. I misted the stamp and then stamped it on vanilla card stock. I wanted to use bashful blue to back the panels and found a piece already cut that was just the right size. So I cut the panels to fit that piece. After gluing the panels to the bashful blue, I used the fine tip of my brocade blue marker to drawn around the panels for just a hint of shadow. I put two strips of green galore behind the panel to add a bit of contrasting color.

The large flowers are made using a flower from mixed bouquet and a smaller flower from bodacious bouquet. Each flower is inked in regal rose and then rose red, using the rock n roll technique. The larger flower is stamped 3 times for each flower. The smaller flower is done the same way for the top layer, but underneath that layer it is stamped twice in rose red. When I cut them out, I left just a tiny border of the vanilla card stock. For the center of the flowers, I used some clear baubles I found in the candle department at Michael's. The front flower is raised for added dimension.

The sentiment from it's your birthday is stamped in garden green ink on green galore and punched out with my key tag punch, and popped up.

The really fun part of this card is the inside. This is called a 7 flower pop up. So fun and actually quite easy to make. It is made up of 7 flowers. You start with 8 petals, cut one out and overlap one, so you end up with a bowl shape with 6 petals. By gluing certain petals together and then to the inside of the card, when you open the card, the flowers open up like a big blossom.

If you would like instructions on how to make this flower, go here. I was surprised how easy this was to make. The one thing I did differently from the tutorial is to use a large oval punch instead of cutting out each flower. I started with 4" squares of designer paper, and after folding according to the directions, I put the folded paper into the punch so that the point was out of the punch, but up against the end and used just one end of the punch to punch and form the petals. This way, all my flowers were identical in size and shape.

supplies:
stamps: pretty petals, bodacious bouquet, mixed bouquet, it's your birthday (all SU)
ink: garden green, regal rose, rose red
paper: regal rose, bashful blue, green galore, very vanilla, dp (Michael's stack)
other: large oval punch, sponge, baubles, key tag punch, dimensional foam tape

I'm so glad you had time to stop by today.